Monthly Payments as Low as $99! | 1/2 OFF Labor on second Project

A bathroom remodel is one of the highest-impact home improvement projects you can make. But without a clear plan, it becomes one of the most disruptive. This step-by-step renovation guide walks you through every bathroom construction phase, from early planning decisions to the final walkthrough. Whether you’re updating a powder room or gutting a master suite, the bathroom remodel steps are the same. Follow this remodel process guide to stay on schedule, on budget, and out of trouble before the first wall comes down.
Key Takeaways
The work you do before demo day determines how smoothly everything else goes. Skipping the planning phase is the most common reason bathroom projects run over time and over budget. Lock in your goals, your contractor, and your materials before anyone picks up a tool.
Decide early whether you want a cosmetic refresh or a full gut renovation; they are completely different investments.
A full remodel costs $15,000 to $75,000 or more, delivers a 60–70% ROI, and produces a bathroom that lasts 20–30 years. A one-day cosmetic overlay runs $1,500 to $5,000, returns 30–40% ROI, and lasts 10–15 years. Total project costs across all bathroom types range from $5,000 to $150,000+, depending on size, materials, and complexity. Choose a full remodel if you plan to stay long-term or need functional changes. Choose a cosmetic option if budget is the priority and the underlying structure is sound.
When it makes sense: A full gut renovation makes sense when the existing layout no longer works, the plumbing or electrical is outdated, or you plan to stay in the home for 10 or more years. A cosmetic update makes sense when the structure is sound and the primary goal is refreshing the appearance within a tighter budget.
How we compare: Patriot Bath Remodeling handles both full remodels and targeted upgrades. Unlike national chains that promote one-day overlay systems as a primary product, we begin every project with an honest site assessment. You receive a recommendation based on what your bathroom actually needs, not on what generates the largest sale.
Expected outcomes: A full remodel delivers a bathroom built to current code with a 20–30 year service life. A cosmetic update refreshes the appearance for less investment with a 10–15 year lifespan before the next refresh. Either path should leave you with a clear understanding of what you are getting and what it will cost before any work begins.
Hire before you finalize materials, not after.
Get at least three quotes so you can compare price, timeline, and scope. A qualified contractor will also flag what requires a permit in your area. In Massachusetts, permits run $500 to $2,000 depending on the municipality and scope. Plumbing and electrical work almost always require permits and inspections. Factor both the cost and the processing time into your schedule from day one. Ask each contractor how they handle permit applications and whether that service is included in the quoted price. Contractors familiar with your local building department can often reduce processing time and help you avoid submission errors that restart the clock.
Everything should be decided, and most materials ordered, before demolition starts.
Tile, vanities, and fixtures typically take 2–6 weeks to arrive. If you wait until the demo is done to order, your project sits idle. Also confirm: dust barriers are in place, a debris removal plan is set, and you have access to an alternate bathroom for the duration of construction. Planning a bathroom remodel properly means walking into demo day with zero open decisions.
A full bathroom remodel follows a fixed order. Each phase depends on the one before it. Understanding the bathroom construction phases helps you track progress, catch scheduling problems early, and know when to expect inspectors on-site.
Demo is the starting point for every full renovation.
Removing fixtures, stripping tile, and clearing the space takes 1–3 days. Debris hauling runs $300–$800, depending on volume. This phase also exposes what’s behind the walls, mold, rotted subfloor, and corroded pipes. Whatever is found here reshapes the scope of everything that follows, so build flexibility into your schedule before the demo begins. Ask the contractor to document all discoveries with photos before any remediation begins. This protects you from surprise charges and gives you a clear record of what changed from the original scope.
Rough-in work happens immediately after demo, before anything goes back on the walls.
This phase covers drain and supply line relocation, GFCI electrical wiring, lighting circuits, and structural framing. It takes 3–7 days. Once complete, a municipal inspector must approve the rough-in before walls close. Do not skip or rush this step; a failed inspection adds 3–7 days of corrections and rescheduling to your timeline. Confirm with your contractor that all rough-in work will be completed before the inspection is scheduled. Splitting this work across multiple visits increases the chance of missing items that trigger a failed review.
After inspection approval, the build-out moves in layers from substrate to surface.
Waterproofing and substrate prep, membrane systems like RedGard or Schluter, cement board, and floor leveling take 2–4 days. Tile installation runs 3–7 days, including mortar set and grouting. Fixture and vanity connections follow at 2–3 days, cabinetry mounting at 1–2 days, and countertop templating and installation at 1 day. Each trade hands off to the next. Delays at any layer push every layer behind it.
Timelines vary by scope, but every bathroom remodel follows a predictable structure. Knowing the duration of each stage helps you set realistic expectations, coordinate contractors, and avoid being caught off guard when the project runs longer than expected.
Planning takes longer than most homeowners expect, and it happens before any physical work begins.
Permits, design decisions, and material ordering typically require 2–6 weeks of lead time. Tile, vanities, and specialty fixtures often have long shipping windows. If you start ordering after the demo begins, you will stall your own project. Treat this phase as active construction time, not a waiting period. Use the lead time to finalize every product decision, confirm delivery windows with suppliers, and resolve any open permit questions before your contractor mobilizes on-site. Arriving at demo day with zero open orders is the goal.
Scope determines timeline. Here is what to expect by project type:
A powder room runs 3–4 weeks. A standard full bath takes 6–8 weeks. A master suite with custom work and plumbing changes requires 8–12 weeks. A full gut renovation runs 10–16 weeks. Once construction wraps, finishing, paint, trim, hardware, caulk, and cleanup add 2–4 days. The final inspection and walkthrough takes 1 day. These ranges assume no major surprises during demo. Hidden damage, backordered materials, or inspection failures can add weeks to any category, which is why a contingency buffer is part of every realistic schedule.
Every project encounters something unexpected. Plan for it from the start.
Build a 1–2 week contingency buffer into your schedule before work begins. Experienced contractors recommend padding the total timeline by at least 20%. This accounts for permit delays, backorders, inspection failures, and anything uncovered during demo. A realistic schedule is not pessimistic; it is how projects finish on time.
Even well-planned projects hit obstacles. The difference between a project that recovers quickly and one that drags on is preparation. Knowing the most common disruptions in advance lets you build time and budget buffers before they become emergencies. If you have specific questions about your project, our FAQ covers the most common homeowner concerns.
What’s behind the walls is unknown until demo day, and it frequently adds scope.
Mold, rot, corroded pipes, subfloor damage, and outdated wiring are all common findings during demolition. Each one requires assessment, materials, and labor before the project can move forward. Work near exterior walls adds another variable; windows and ventilation penetrations can be delayed by weather conditions. None of this is predictable, which is exactly why a contingency buffer is non-negotiable. Budget at least 10–15% of your total project cost as a financial reserve specifically for discoveries made during demo. Contractors who identify these issues early and document them clearly are protecting your budget, not inflating it.
Permits and inspections run on the municipality’s schedule, not yours.
Processing takes 1–4 weeks, depending on the local authority’s workload and whether the application is complete. An incomplete submission restarts the clock. A failed inspection adds 3–7 days for corrections and re-inspection before work can resume. Choose a contractor experienced with your local permitting office; it is one of the most practical ways to keep this phase from stalling the entire project. Ask your contractor how many projects they have completed in your specific town or city. Local familiarity with the permitting office is a real, measurable advantage that reduces the risk of submission errors and scheduling gaps.
A single backordered item can shut down an active jobsite.
Specialty tile, custom fixtures, and made-to-order cabinets can take 2–8 weeks to arrive. If a required material isn’t on-site, work stops. Change orders compound the problem; any modification requested after work begins adds 1–3 weeks per change for revised plans, new materials, and rescheduling. Choose all finishes and fixtures before demo starts, and confirm lead times in writing.
Staying on schedule comes down to decisions made before work begins. The projects that run smoothly are the ones where materials are ready, communication is structured, and the homeowner knows what to verify at each stage.
The fastest way to stall a project is to demo first and order second.
Have all materials confirmed or on-site before the first wall comes down. If your timeline is tight, consider a prefabricated shower system over custom tile; it saves 3–5 days of installation time. In-stock laminate countertops can be installed the same day, eliminating fabrication lead time. Every material substitution that speeds delivery without compromising your goals is worth considering. Build a materials checklist with your contractor at least four weeks before demo. Confirm that every item is either in stock at a local supplier or has a verified ship date before work begins.
Unclear communication is the hidden cause of most project delays.
Before work starts, agree on how daily progress will be reported and how quickly you are expected to respond when a decision is needed. Slow homeowner response is one of the most common scheduling bottlenecks. Any change to the scope or cost must be documented in writing before you authorize it. Verbal approvals create disputes; written change orders protect both sides. Set a response window expectation upfront. If you cannot respond to a decision request within 24 hours, let the contractor know in advance so they can sequence other work around the gap rather than waiting idle.
Prepare your living situation and verify completed work before the walkthrough.
If the only bathroom is under construction, budget $100–$300 per week for a portable toilet rental. Confirm dust containment is in place, plastic barriers and HEPA filtration are standard, and that noisy work is limited to 8 am–6 pm. Before the walkthrough, verify that the tile is grouted and sealed, all hardware is installed, and the paint is fully complete. Catching gaps before the final meeting keeps the punch list short.
The final phase is about verification, not celebration, not yet. A structured close-out process protects your investment and ensures every item is resolved before money changes hands.
The project isn’t done until the inspector and the homeowner both sign off.
The municipal inspector reviews completed work and issues a permit sign-off. Then the contractor and homeowner conduct a joint walkthrough. Every unresolved item, a paint touch-up, a loose fixture, a missing trim piece, gets documented in writing as a punch list. Nothing is considered complete until all items are finished. Final payment is released only after the punch list is closed. Keep a signed copy of the completed punch list for your records. It documents that all work was reviewed and accepted before final payment, which matters if any issue surfaces after the crew has left.
Test everything before the contractor leaves the jobsite.
Run all fixtures and check for leaks under the sink and at toilet connections. Test the shower at full pressure and temperature. Confirm GFCI outlets trip and reset correctly. Verify exhaust ventilation is pulling air. Open and close every door, drawer, and cabinet. Issues found during the walkthrough are the contractor’s responsibility. Issues found after the final payment are significantly harder to resolve. Take photos or short video clips during the walkthrough as a dated record of the completed condition. This protects both you and the contractor and gives you documentation for any future warranty claims.
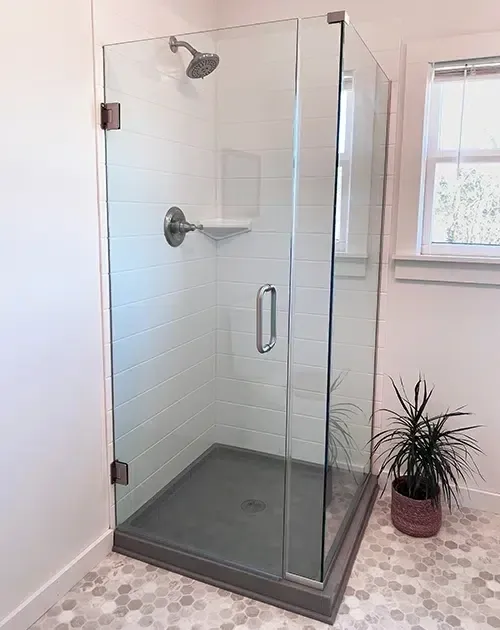
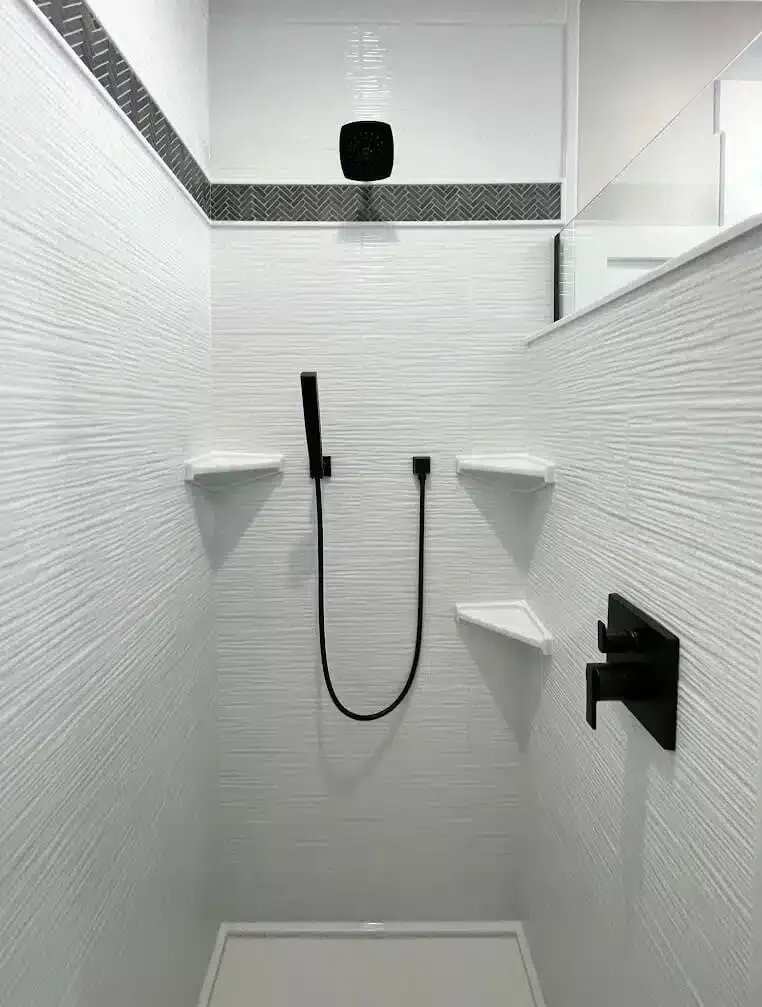
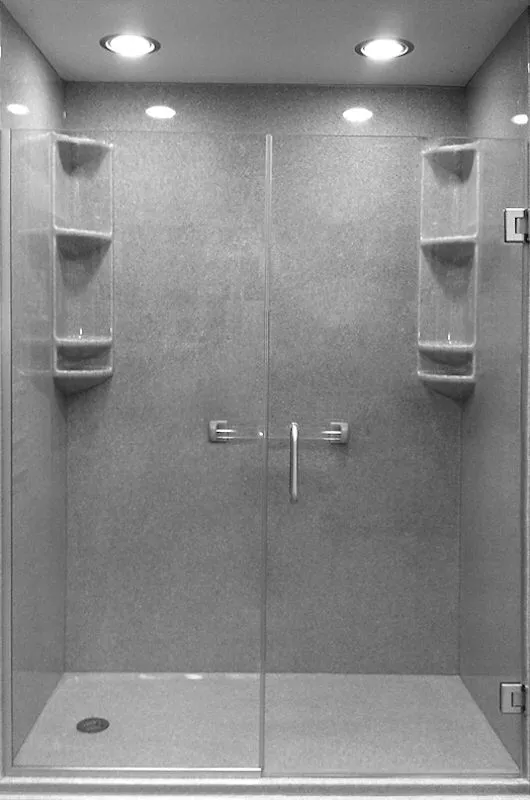
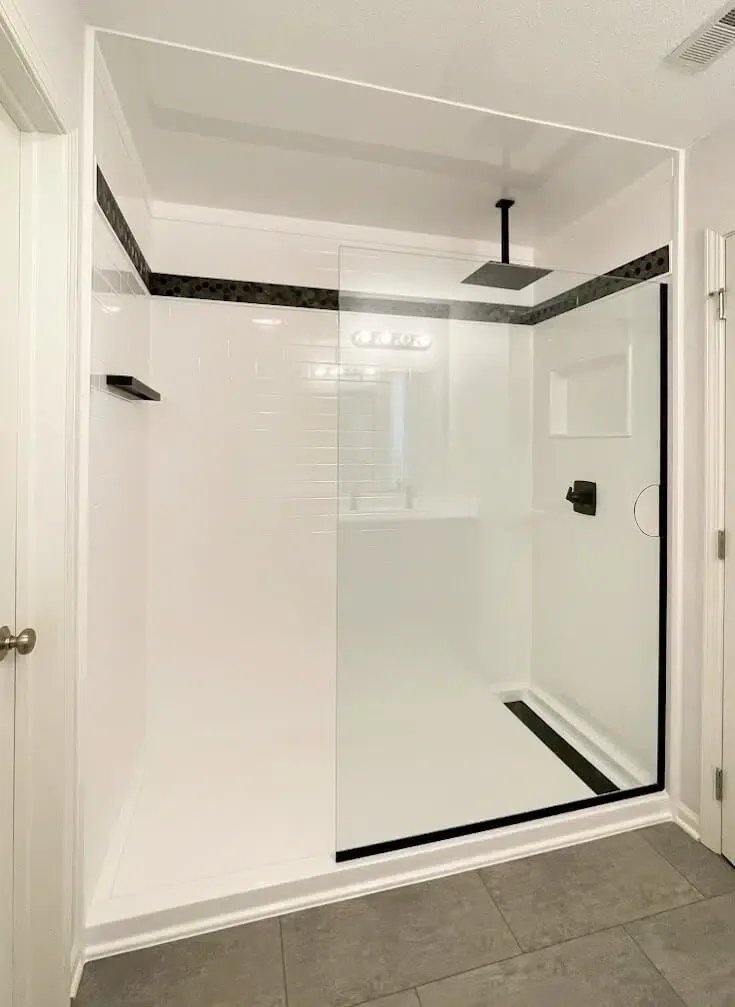
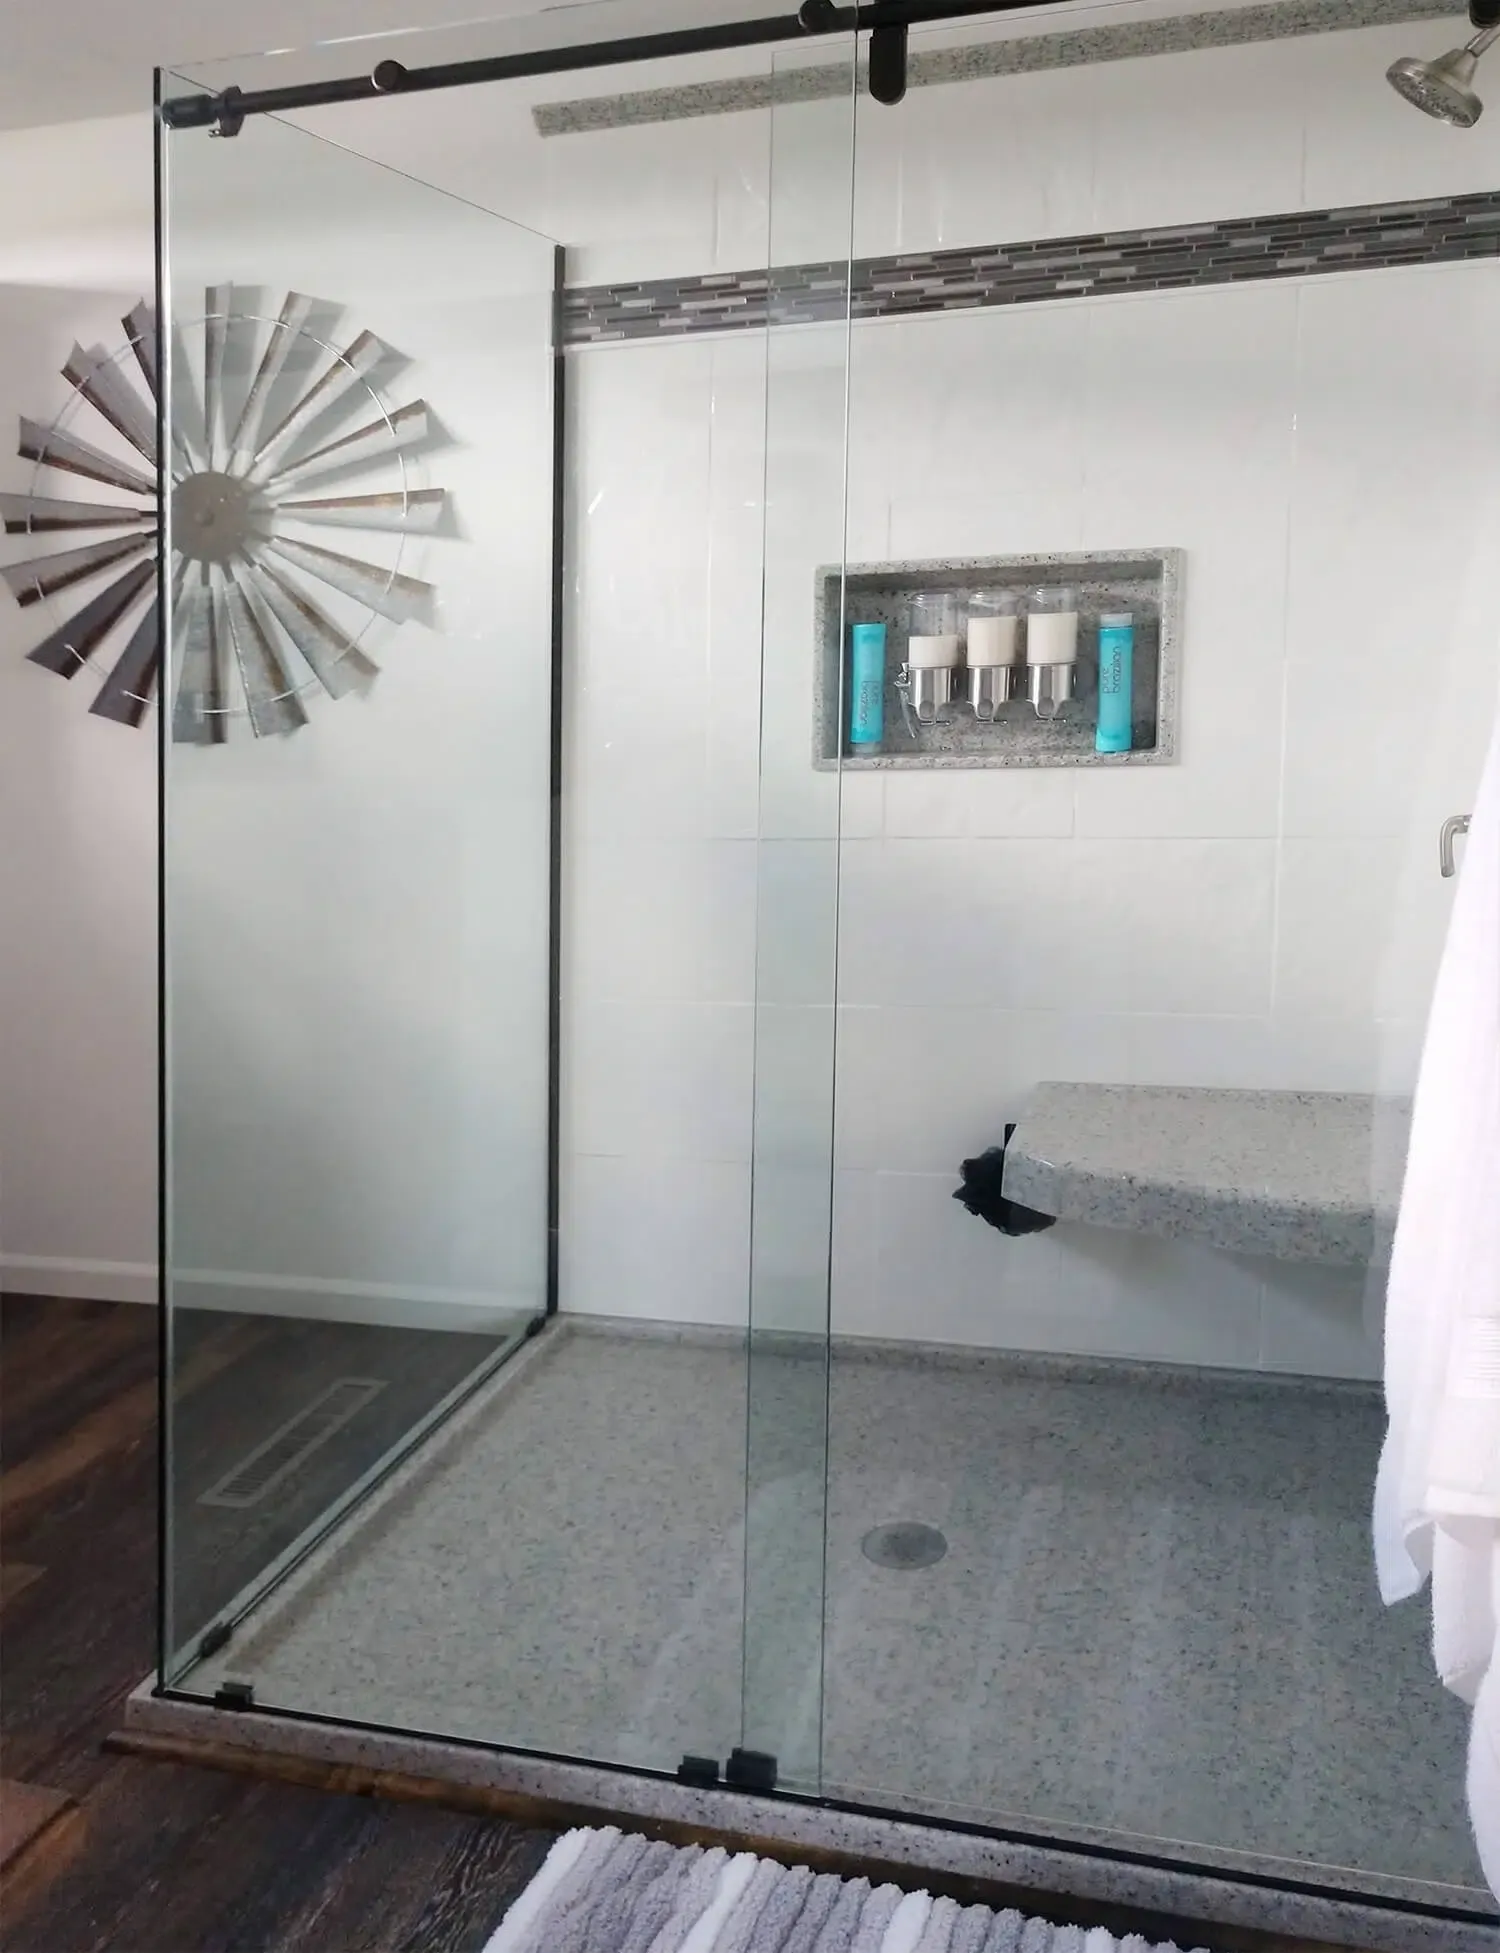
A quality remodel lasts 20–30 years. Browse our completed projects to see what that looks like in practice.
Collect warranty documentation for all materials and labor before the crew leaves. Reseal grout annually to prevent moisture infiltration. Inspect caulk at the tub, shower, and sink perimeter every six months and replace it when it cracks or separates. Address any moisture issue immediately; water that reaches the substrate undoes the entire investment. The maintenance is simple. The cost of skipping it is not.
A bathroom remodel is a significant investment in your home, your comfort, and your daily life. Now that you know every phase of the process, you can move forward with confidence. At Patriot Bath Remodeling, we handle every step, from permits and demolition to the final walkthrough, so nothing falls through the cracks. We serve homeowners across Massachusetts, Rhode Island, and New Hampshire with quality craftsmanship and transparent timelines. Ready to see what’s possible? Browse our completed projects, explore our services, or call us directly at (508) 748-5468. We’re here to answer your questions and get your project started right.