Monthly Payments as Low as $99! | 1/2 OFF Labor on second Project

Key Takeaways
A bathroom remodel involves more moving parts than most homeowners realize. From the first design consultation to the final walkthrough, every stage builds on the one before it. Understanding what happens—and when—helps you make smarter decisions, avoid surprises, and keep your project on track. Whether you’re comparing bathroom remodeling services or searching for a full bathroom remodel near me, this guide breaks down the entire process step by step. You’ll learn what each phase involves, how long it takes, and where problems typically arise so you can plan accordingly.
Every bathroom renovation follows a predictable sequence. The specifics vary based on scope, but the structure stays consistent. Knowing what’s ahead helps you prepare, ask better questions, and hold your contractor accountable. Here’s how the process unfolds from planning through completion.
A bathroom remodel moves through six core stages: planning, demolition, rough-in, vanity and tile installation, fixture installation, and finishing touches. Each phase has specific tasks, and skipping steps creates problems later. Professional bathroom renovation services follow this sequence because it works.
Planning comes first. This includes design work, material selection, and finalizing the scope. Permits must be obtained before any physical work begins. Your contractor handles the permit application, but approval timelines vary by location. Once permits are in hand, demolition starts. Old fixtures, tile, and drywall come out. The space gets stripped to the studs if it’s a full gut renovation.
After the demo, rough-in work begins. Plumbers relocate pipes. Electricians run new wiring. HVAC gets adjusted if needed. This stage must pass inspection before walls can be closed. Inspectors verify that plumbing, electrical, and structural elements meet code. Failing this inspection means rework and delays.
Once the rough-in passes, the surfaces get rebuilt. Cement board goes up in wet areas. Drywall covers everything else. Tile installation follows—shower walls first, then floors. Vanities, toilets, and fixtures come next. The final stage includes painting, caulking, hardware, mirrors, and accessories. A punch list walkthrough catches any remaining issues before the project closes out.
Timelines depend on scope. Cosmetic updates—new paint, fixtures, and accessories—take one to two weeks. Standard remodels with new tile, vanity, and shower upgrades run three to six weeks. Full gut renovations that involve layout changes, structural work, or shower remodeling typically require six to twelve weeks of construction time.
But construction time isn’t the whole picture. The initial consultation and design planning phase alone takes three to four weeks. Quality bathroom design services include site assessment, 3D renderings, material selection, and revision cycles. Rushing this phase leads to mistakes and change orders later.
Pre-construction preparation adds another two to six weeks after contract signing. This includes permit applications, material ordering, and scheduling subcontractors. Custom vanities, specialty tile, and fixtures often have long lead times. If you’re not ordering early, you’re not starting on time.
The total timeline from first consultation to final walkthrough often spans three to five months for a standard remodel. Full renovations can take six months or more. When comparing quotes, ask contractors to break down both the planning phase and construction phase separately. That gives you a realistic picture of the full commitment.
Hidden problems cause the most damage to budgets and timelines. Forty to sixty percent of bathroom remodels uncover issues during demolition. Water damage behind walls, outdated wiring that doesn’t meet code, mold, and structural rot all fall into this category. You can’t see these problems until the walls come down.
Smart homeowners set aside a contingency fund of ten to twenty percent of their total budget. This covers surprises without derailing the project. If you’re searching for a full bathroom remodel near me, ask potential contractors how they handle unforeseen conditions. Their answer tells you a lot about their experience and communication style.
Permit processing creates another common bottleneck. Typical approval takes one to four weeks, but some jurisdictions stretch to two to six months. Renovation work cannot legally begin until permits are approved. Experienced bathroom remodeling services know local timelines and factor them into project schedules.
Material lead times also catch homeowners off guard. Stock items ship quickly. Custom vanities, specialty tile, and high-end fixtures take two to eight weeks. Shower remodeling projects often involve custom glass enclosures, which have some of the longest lead times in the industry. Ordering materials early—during the design phase—prevents construction delays later.
Change orders rank among the most controllable delay factors. Every mid-project change requires revised pricing, potential re-permitting, and schedule adjustments. Finalizing all selections before demolition starts eliminates most change orders. Take the time during design to make decisions. It’s cheaper than making them during construction.
Communication breakdowns also slow projects. A single point of contact, documented decisions, and regular check-ins keep everyone aligned. The best bathroom renovation services establish clear communication protocols before work begins. Ask about this during your contractor interviews.
Understanding the remodel process helps you plan realistically and avoid common pitfalls. The six phases provide a roadmap. Timeline estimates help you arrange temporary bathroom access. Knowing where delays happen lets you take preventive action. With this foundation, you’re ready to dive deeper into planning, material selection, and hiring the right team.
Professional bathroom renovation services follow a proven sequence. Each step builds on the previous one. Understanding what happens at each stage helps you track progress, ask informed questions, and know when something’s off. Here’s the complete twelve-step process from first consultation to project closeout.
Planning starts with an in-home consultation lasting ninety minutes to two hours. The contractor assesses your existing space, takes measurements, reviews plumbing and electrical locations, and discusses your goals. You’ll talk about functionality, style preferences, and budget. This conversation shapes everything that follows.
Quality bathroom design services then develop your plans over one to three weeks. This includes floor plans, elevation drawings, and often 3D renderings so you can visualize the finished space. Expect two to three revision cycles to finalize the design. Layout options address your functional needs and wish list—whether that’s a larger shower, double vanity, or better storage. Rushing this phase leads to expensive changes later.
Any renovation involving plumbing, electrical, or gas lines requires permits. Your contractor handles the application, but you should understand the timeline impact. Permit processing typically takes one to four weeks. In some jurisdictions, it extends to two to six months. Work cannot legally begin until permits are approved.
Inspections happen at specific milestones. Rough-in inspections are mandatory in most areas before walls can be closed. Inspectors verify that plumbing, electrical, and structural work meets code. Scheduling requires twenty-four to forty-eight hours’ advance notice. Failed inspections mean rework and delays, which is why experienced bathroom remodeling services get it right the first time.
Demolition follows a specific sequence: toilet first, then vanity, tub or shower, and finally flooring. This order prevents damage and allows efficient debris removal. Demo takes one to three days for standard bathrooms. Full gut renovations require three to five days.
Before the demo begins, contractors protect your home. Plastic sheeting seals doorways to contain dust. Floor coverings protect hallways and adjacent rooms. A designated workspace gets established for tools and materials. Professional bathroom renovation services treat your home with care throughout the process.
Rough-in is the behind-the-walls work that makes everything function. This phase takes three to seven days, depending on complexity. Plumbers reconfigure supply lines and drains. Electricians run new wiring, add outlets, and position lighting boxes. HVAC technicians adjust ventilation as needed.
Modern plumbing typically uses PEX tubing—blue for cold water, red for hot. Drain systems include P-traps under each fixture, vent pipes that prevent sewer gas backup, and connections to the main soil stack. This work must pass inspection before it gets covered. Shower remodeling projects often involve significant rough-in work when relocating drains or adding body sprays.
With walls open, contractors can inspect existing conditions. This is when hidden problems become visible—rot, water damage, inadequate framing, or termite damage. Structural repairs happen during the rough-in phase before new materials go in.
Subfloor repair is critical in bathrooms. Any soft spots, water damage, or inadequate support get addressed now. The subfloor must be solid and level before waterproofing installation. Skipping this step guarantees problems later. When searching for a full bathroom remodel near me, ask contractors how they handle structural discoveries.
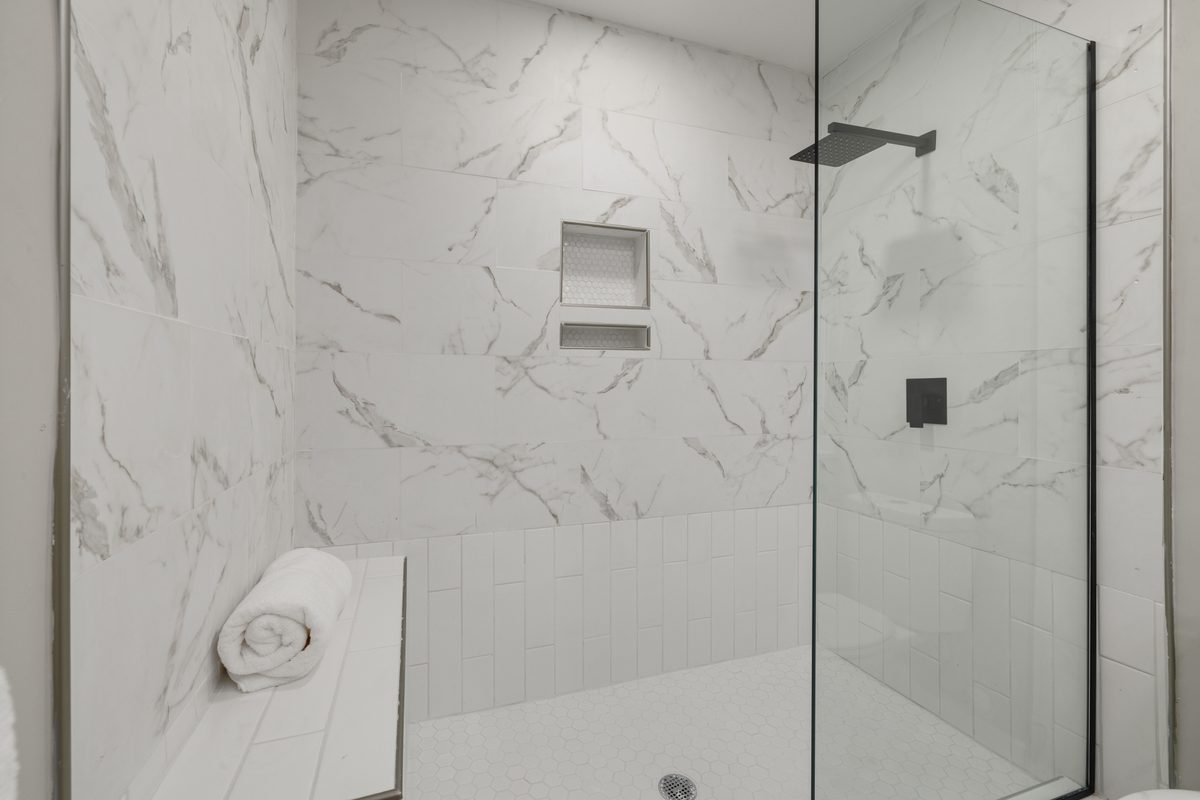
Waterproofing prevents the moisture damage that destroys bathrooms. Cement board products like Durock or USG backer board get installed on shower walls and floors. These materials won’t deteriorate when wet, unlike standard drywall.
Waterproofing membranes go over the cement board. These liquid-applied or sheet membranes create a continuous barrier that directs water to the drain. Shower pan construction requires precise slope toward the drain—typically one-quarter inch per foot. Window areas in wet zones need extra attention. Every seam, corner, and penetration must be sealed. Poor waterproofing is the leading cause of shower failure.
Once the rough-in passes inspection, surfaces get rebuilt. Cement backer board goes up in all wet areas—shower surrounds, tub surrounds, and behind sinks. Standard drywall covers walls and ceilings in dry areas. All seams get taped and mudded.
Substrate preparation determines finish quality. Surfaces must be flat, clean, and properly primed. Any imperfections show through the tile and paint. This prep work typically happens on day two of the installation timeline, setting the stage for tile work.
Tile installation follows a specific sequence: shower walls first, then shower floor, then bathroom floor. This prevents damage to finished surfaces during ongoing work. Quality tile work takes two to four days, depending on complexity and tile size.
Proper installation prevents common problems. Mortar gets mixed according to the manufacturer’s specifications—too wet or too dry causes failures. Installers use spirit levels constantly to ensure tiles sit flat. Flattening spacers maintains consistent spacing and prevents lippage, where tile edges sit higher than neighbors. After setting, tiles cure for twenty-four hours before grouting. Rushing this causes cracks and loose tiles.
Fixture installation takes one to two days for most projects. The total installation phase—including tile, fixtures, and trim—runs five to ten days for standard remodels. Sequence matters here, too.
Light fixtures and ventilation fans go in first since they require ceiling access. Vanities get set and leveled, then countertops are installed. Sinks, faucets, and supply connections follow. Toilets go in late to prevent construction damage. Showerheads, handles, and trim plates complete the plumbing. Final inspection happens after fixture installation to verify everything meets code.
The finishing phase transforms a construction zone into a finished bathroom. This stage takes two to four days. Walls and ceilings get painted. Grout gets sealed to prevent staining. Caulk seals all joints between surfaces—tub to tile, floor to wall, countertop to backsplash.
Hardware mounting includes towel bars, toilet paper holders, robe hooks, and cabinet pulls. Mirrors get hung and leveled. Light fixtures get trimmed out and tested. Final plumbing connections get checked for leaks. The space gets thoroughly cleaned, removing construction dust and debris.
Before project closeout, the building inspector verifies that all permitted work meets code. This final approval confirms the bathroom is safe for use. Without it, you may face issues when selling your home.
The contractor then walks through the completed bathroom with you. Typical punch lists include five to fifteen minor corrections—touch-up paint, caulk adjustments, hardware tightening, or grout repairs. Professional bathroom remodeling services address these items promptly. Withhold final payment until punch list items are resolved to your satisfaction. This is standard practice and protects both parties.
Project closeout includes more than handing over keys. Contractors provide warranty documentation covering their workmanship, typically one to five years. Manufacturer warranties on fixtures, tile, and materials vary by product—keep these documents organized.
Good contractors demonstrate the operation of new fixtures. Thermostatic shower valves, ventilation fan timers, and specialized faucets may need explanation. Maintenance guidance helps protect your investment. You’ll learn how to clean specific surfaces, when to reseal grout, and what voids warranties. This information keeps your new bathroom looking great for years.
Material selection is where many bathroom remodels stall. Late decisions push back timelines. Wrong choices trigger redesigns. Understanding what to select first, how quotes handle unspecified items, and what performs best in wet environments keeps your project moving. Professional bathroom design services guide you through these decisions early—before they become problems.
Custom vanities, specialty tiles, and high-end fixtures have the longest lead times—typically two to eight weeks. These items drive your timeline more than construction labor. Order them as soon as your design plan is finalized, not when demolition starts. Waiting until walls come down guarantees delays.
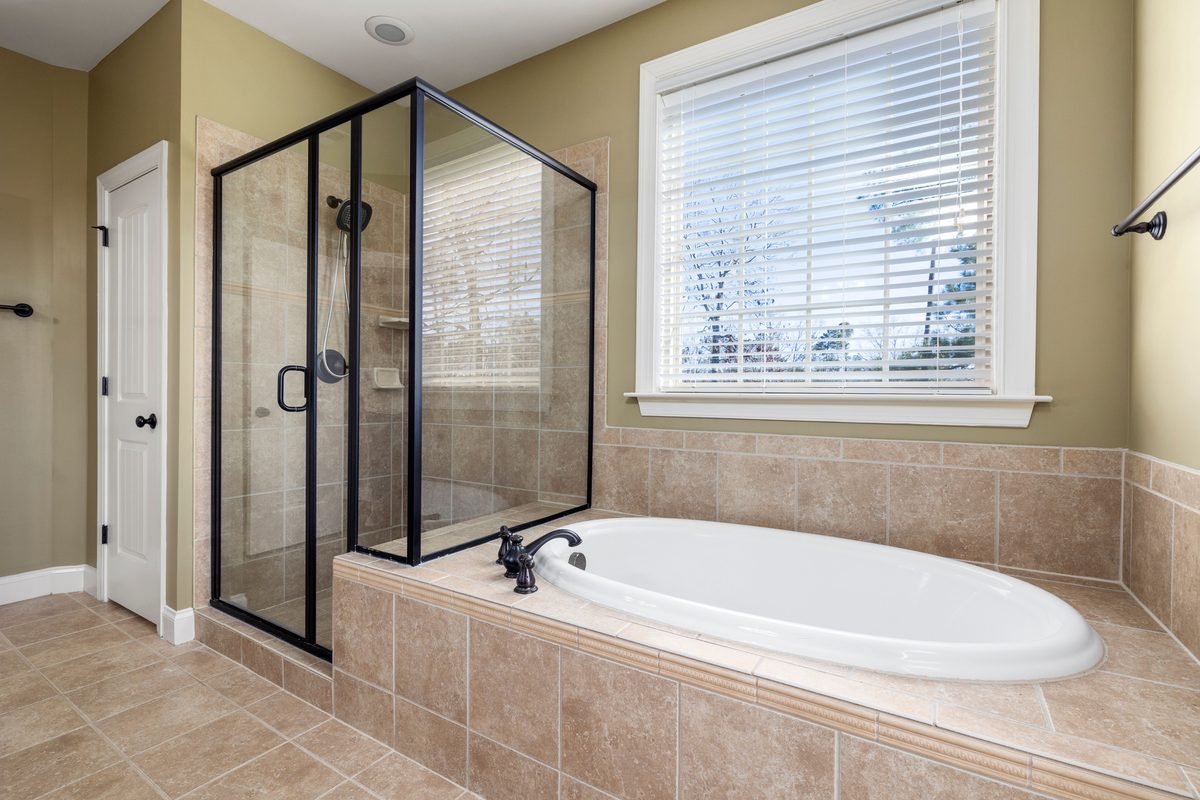
Prioritize selections in this order: shower or tub unit, vanity and countertop, tile for walls and floors, plumbing fixtures, lighting, and finally hardware and accessories. Shower remodeling projects often involve custom glass enclosures, which can take six weeks or more. If you’re sourcing materials yourself rather than through your contractor, coordinate delivery timing carefully. Materials arriving late—or early without storage space—disrupt the entire schedule. Experienced bathroom remodeling services build material ordering into the pre-construction phase specifically to prevent this problem.
Allowances are budget placeholders for items you haven’t selected yet. A quote might include a $500 allowance for a toilet or $2,000 for tile. If your actual selection costs more, you pay the difference. If it costs less, you receive a credit. Allowances provide flexibility but create uncertainty in your final budget.
Exact selections lock in pricing and eliminate surprises. When you choose specific products before signing the contract, your quote reflects actual costs. This approach also prevents change orders during construction. Every mid-project change requires revised pricing, potential schedule adjustments, and sometimes re-permitting. Making selections during pre-construction prep—while your contractor finalizes the schedule—keeps everything on track. When comparing quotes for a full bathroom remodel near me, ask which line items are allowances versus exact pricing. That distinction affects your real bottom line.
Bathrooms demand materials that handle moisture daily. Style matters, but durability and maintenance requirements should guide your decisions. The wrong finish in a wet area fails prematurely, regardless of how good it looks initially.
Wet areas require a proper substrate and waterproofing before any finish material. Cement board replaces standard drywall behind showers and tubs. Waterproofing membranes create a moisture barrier over the cement board. These layers protect your home’s structure—tile alone doesn’t stop water migration. For tile selection, porcelain outperforms ceramic in wet areas due to lower water absorption. Natural stone requires regular sealing to prevent staining and water damage. Large-format tiles mean fewer grout lines but require perfectly flat substrates.
Grout and caulk maintenance protects your investment. After tile installation, the mortar cures for twenty-four to forty-eight hours before grouting. Grout then needs seventy-two hours to cure before sealing. Sealed grout resists staining and mildew, but requires resealing every one to two years, depending on use. Bathroom renovation services that explain these maintenance requirements help you make informed choices. A slightly higher-maintenance finish might be worth it for the style you want—as long as you know what you’re committing to.
A successful bathroom remodel comes down to preparation, clear communication, and working with professionals who know the process inside and out. From initial design through final walkthrough, every decision affects your timeline, budget, and results. Now that you understand what to expect, you’re ready to take the next step.
At Patriot Bath Remodeling, we guide homeowners through every phase—from material selection to punch list completion. Our bathroom remodeling services eliminate guesswork and keep projects on track. Whether you need shower remodeling, a full renovation, or expert bathroom design services, we’re here to help.
Call us today at (508) 748-5468 for a free consultation and detailed quote.